
I used to make plastic lace bracelets (and zipper pulls, and all kinds of little geegaws) in the schoolyard with my friends when I was a kid. I learned how from my friends, but I’m not sure where they learned; perhaps the older kids passed it along to the younger ones. This is the simplest style was what we called a “zipper” bracelet, just because it kind of looked like a zipper when it was done. These days, I’ve seen this technique applied to paracord bracelets, which seem to be a recent trend in this kind of craft.
Plastic Lace Bracelets
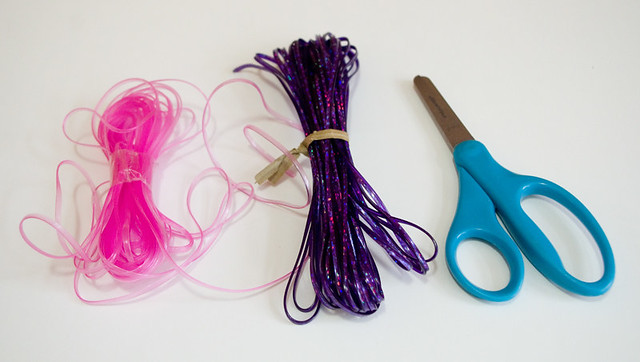
Materials:
– plastic lace
Supplies Needed:
– scissors
1. Pick your supplies. I generally find it’s easier with two different colours of lace because it’s easier to keep track of which one’s which, but it’s up to you. Cut a piece of your base coloured lace twice as long as the intended bracelet length, plus about 5″.
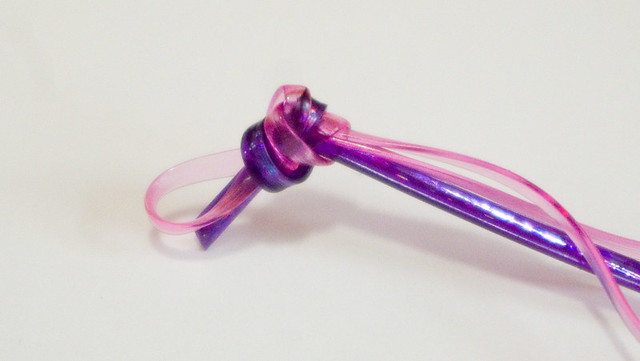
2. Fold the base colour lace in half, and then pair it with the accent colour of lace (don’t bother to cut this one yet). Tie a knot to attach the laces together.
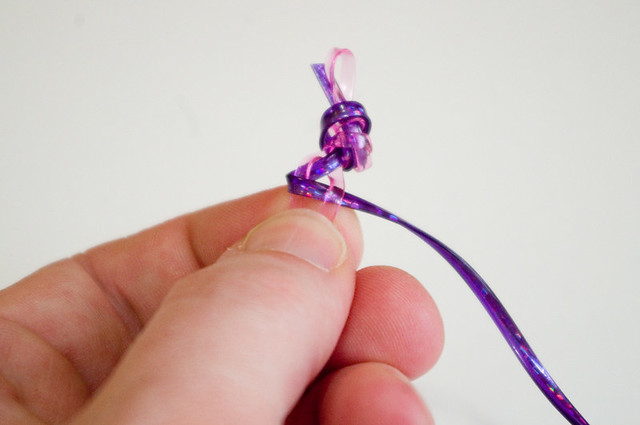
3. Wrap the accent colour lace around the left base lace, then bring it down the middle.
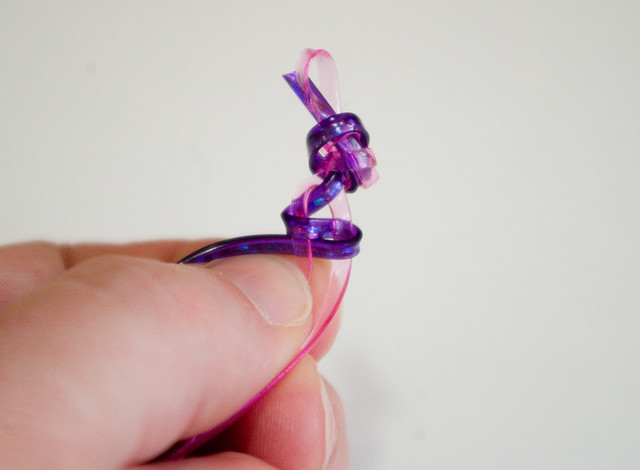
4. Keeping the laces flat and taut, wrap the accent colour around the right base lace, then bring it down the middle.
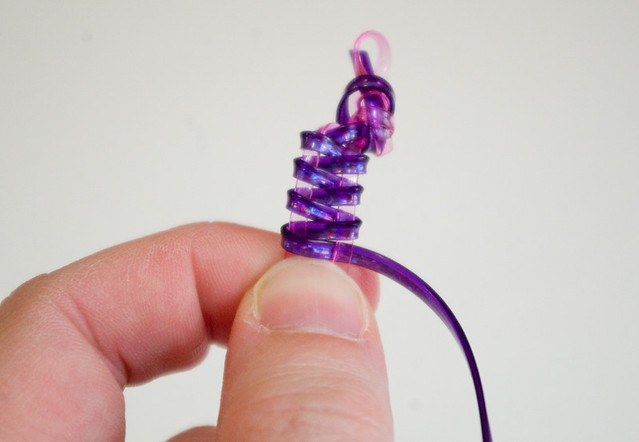
5. Repeat steps 3 and 4, being sure to press firmly up on the lacing from the bottom as you go, to prevent gaps. Keep repeating these steps until the bracelet is as long as desired.
6. Using the accent colour, tie a knot around the base colour laces to keep the lacing from coming out.
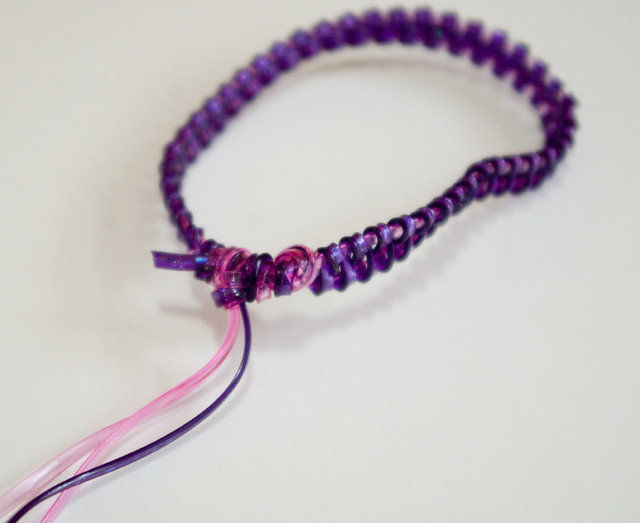
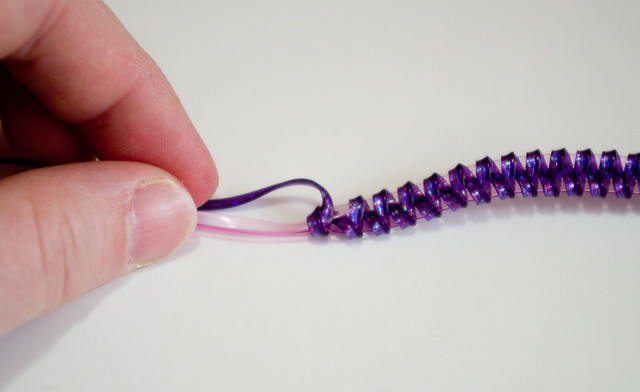
7. Thread the leftover lace through the loop created in step 2, and tie both ends of the bracelet together.
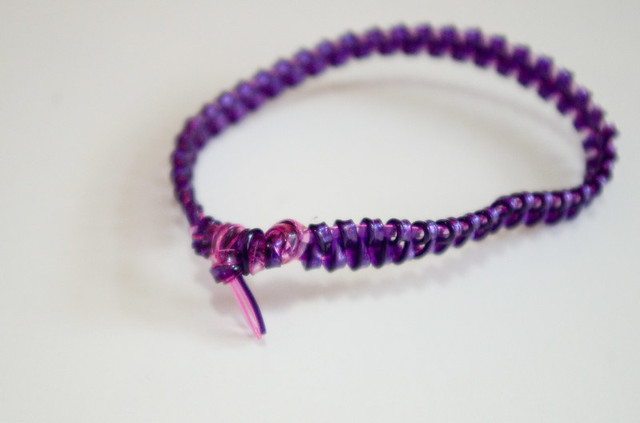
8. Trim the excess lace.

9. Wear it!
