
My girls wanted to bring cookies for their classes for Valentine’s Day yesterday, so that meant breaking out the recipe for Cookie Monster’s Famous Cookie Dough. This is a recipe that I’ve been using since I was a child — actually, that’s probably what we were cooking in the first picture of my introduction post. In my post-childhood but pre-Internet days, my family lost the recipe, but these days the recipe can be found online via TheKitchn.com.

This dough isn’t just for Valentine’s Day; in this photo we were using the recipe for Christmas cookies.
According to my research online, apparently the recipe first appeared in Big Bird’s Busy Book in 1975, which is not where I found it. Family photos reveal that we had The Sesame Street Treasury: Volume 1 (1983), on which the first part of the recipe is printed on page 6. Presumably the cooking instructions are in a later volume. The recipe was also printed The Sesame Street Library: Volume 1 (1978), with the basic recipe on page 7 and the baking instructions on page 26, under the title Cookie Monster’s Shape Cookies.

Heart cookies before baking.
I was lucky enough to snag both a copy of Vol. 1 of the Treasury and the Library a few weeks ago from a thrift shop. There were a few more volumes there, including The Sesame Street Treasury: Volume 5, which I clearly remember reading as a child. This volume has Cookie Monster’s Cookie Faces on page 27. This is a continuance of the Famous Cookie Dough recipe and also contains baking instructions.
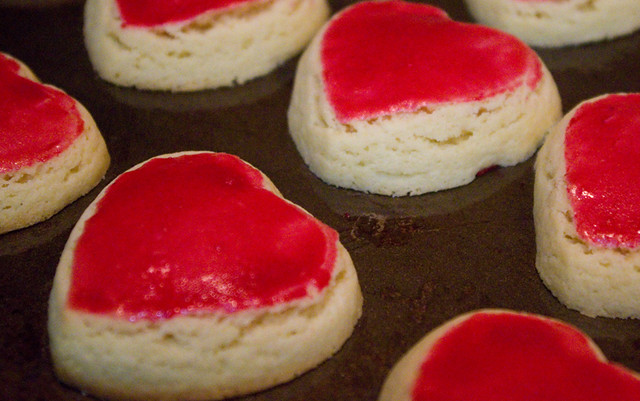
Heart cookies after baking.
This recipe is very forgiving and, as such, is a great recipe to do with children. The dough can be rolled and re-rolled with impunity as the kids cut out the shapes. For fluffiest results, refrigerate the prepared cookies on a baking pan for an hour or more before baking. If you do so, you may need to add a minute or two to the cooking time so that they are done all the way through.

My girls painting their Christmas cookies two years ago.
One thing you may note is not in the original recipe is the coloured glaze — although that’s clearly what I was painting on in my childhood photo. (TheKitchn.com recommends sprinkling them with sugar before baking, which would be good too.) I’m not exactly sure why we started painting the cookies. Perhaps the instructions were in another volume of the Treasury that I haven’t yet found as an adult? The “paint” is very simple: for each colour, separate an egg into two bowls or small containers. Mix a couple of drops of different food colouring with each part of the egg, and then paint onto the cookie before baking. I find that the yolk makes the most saturated colours, but since it has a yellow base it’s hard to get colours like blue (which will mix to create green). Adding a few more drops of food colouring can help “overpower” the yellow. (If for whatever reason you can’t use food colouring, natural colours work as well. For example, a few drops of beet juice can yield an amazing colour.)
Painting the cookies was my favourite part of the process as a child, and is my kids’ favourite part as well. As a bonus, glaze doesn’t make nearly as much of a mess as icing when the kids eat the cookies. Do keep in mind that the glaze will crack when baking because the cookies do expand, so there’s no point in being too precise. Save the fine detail for fancy cookies that are iced after they’re baked.


