Recently, a video about a sea turtle that had to have a plastic straw removed from its nose went viral on the Internet. So powerful was the suffering of the poor animal in this video that it sparked plastic straw bans in many cities. As much as I appreciated the sentiment behind this move, my personal opinion is that it treats a symptom rather than the underlying disease. For example, to reduce plastic straw use, some restaurants redesigned the lids of their disposable cups — but continued distributing single-use plastic lids that could not be easily recycled. Bans also left many people with disabilities in a tight spot, since they have no options but to use disposable straws. Plastic straw bans don’t help any of the old straws already out there to get recycled instead of going into landfills — and according to this site it takes 100 to 500 years for a plastic straw to decompose. It doesn’t address recycling policies that keep plastics from being properly recycled in the first place. And once the furor raised by the video died down, a lot of people — and more importantly, a lot of companies — went back to single-use plastics without a second thought. As it stands right now, 89% of plastic is not recycled in Canada.
So I asked myself, what can I do? Well, I personally I can stop using plastic straws whenever possible, that’s a given. But in all of the viral-video-fueled excitement for people to buy their own personal reusable straws to use with their takeout food, I think a lot of people forgot about the disposable cutlery that goes hand with those straws. While personal cutlery sets have been available for years (and are especially popular with those who camp), and they’re definitely better than disposable, I think it’s possible to do better. Why? Because these are generally made with new materials.
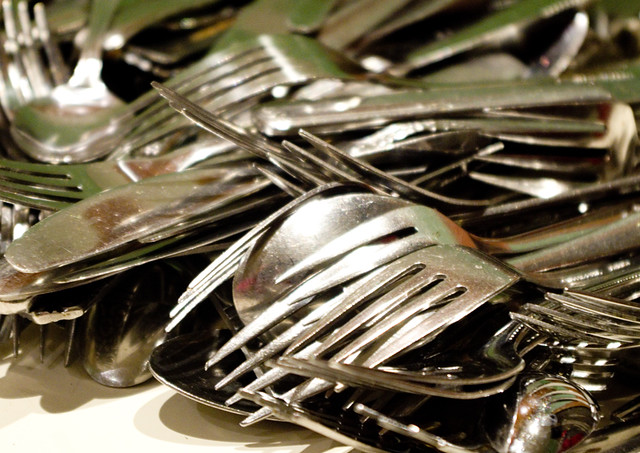
If you go out to any thrift store you will find that there is lots of perfectly good, used, stainless-steel cutlery that can have a second life as a portable cutlery set. Not only that, it’s generally quite affordable! When I buy vintage kitchenware for my market stall, it often comes with old cutlery thrown in; a lot of people don’t see its value. But all it needs is a recycled travel case to put it in so it can be thrown in a purse, briefcase, backpack, desk drawer, or lunch box.
I made up a bunch of these sets and brought them with me to the 613Christmas this past weekend. However, I think it’s more important to encourage everyone to use them than it is for me to make a profit, so I thought I’d share a tutorial online. It is very basic and can even be hand-sewn if desired. Of course, if you are a master sewer, you can probably make something even nicer, and I encourage you to do so! Experiment! Use even tinier scraps of fabric and quilt them together in incredible designs! Knit a case! Crochet! There’s no limit to the techniques you can use. What’s most important, to me, is that your materials be recycled — not only the cutlery, but also the textiles.
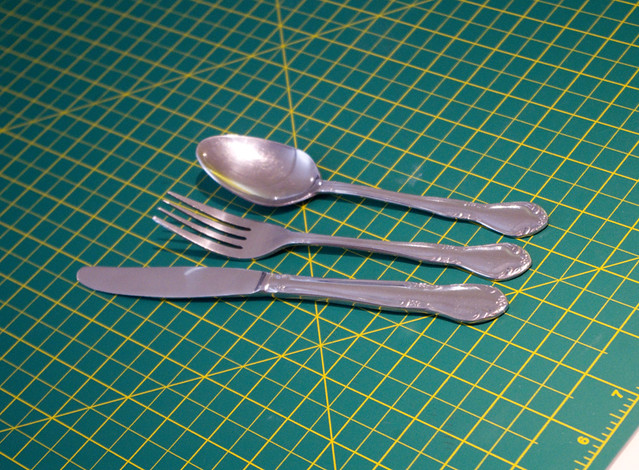
So your first step is to pick your cutlery. If you’re lucky they will all be from the same set, but they really don’t have to be. I recommend the basics of a knife, fork, and spoon, but you can also include a steak knife (although probably not if it’s to be brought to school), reusable chopsticks, and a reusable straw.
Secondly, you’ll need a piece of fabric, preferably recycled. It can come from old clothing, bedding, or draperies, but another good resource (if you don’t sew much yourself) is a friend or family member who sews, who will inevitably have lots of scraps and remnants that they just can’t bear to throw out, but would be happy to see used.
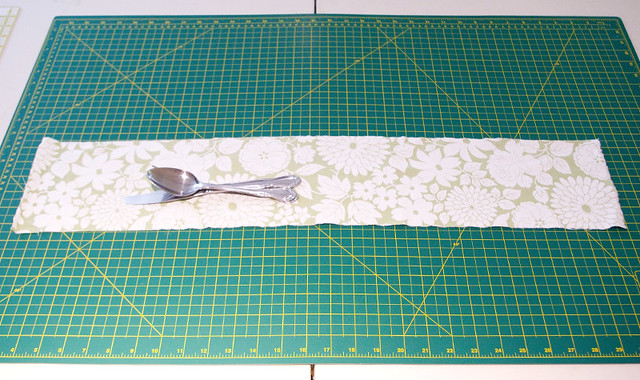
Cut a piece of fabric that, when the fabric is folded in half length-wise, is at least 6″ longer than your longest piece of cutlery. Width-wise, you want it to be twice as wide as the widest piece of cutlery, plus 4″ or so to allow for the depth of the deepest piece. I found that a 30″ x 6″ strip of fabric was adequate to comfortably accommodate every style of cutlery that I tried.
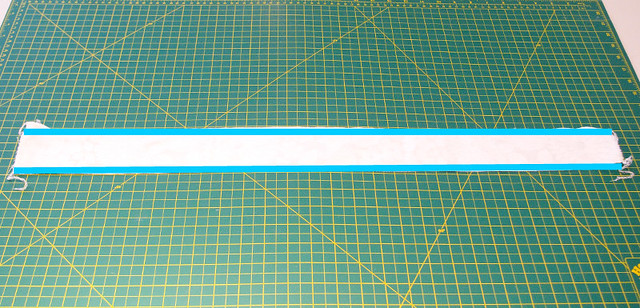
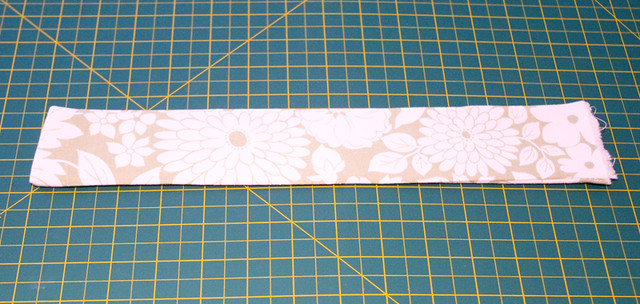
Fold the fabric in half so that it is long and skinny; in the case of our demo, it became 30″ x 3″. Make sure that the wrong side of the fabric faces out. Sew a seam with half of a centimeter of seam allowance around the two longest edges. Alternately, you can serge the edges, which is what I did. (Seams indicated by blue lines in the photo above.)
Turn the tube you have made halfway inside-right, so that the right side of the fabric is visible on the outside. The tube will now be half as long as when you started (15″). Press flat.
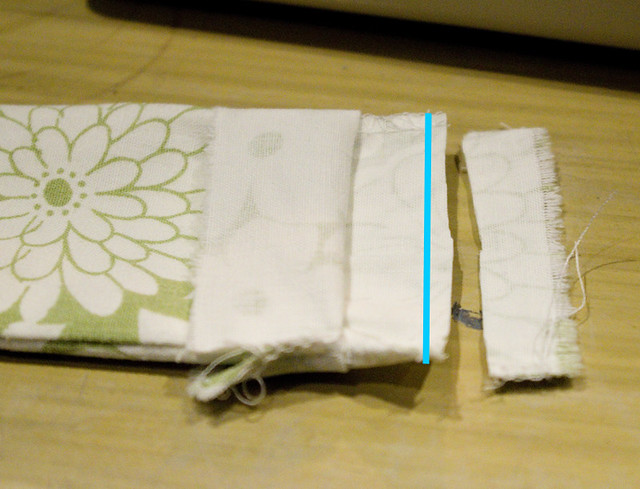
On the unfinished end, fold the top layer back about 4″. Sew a seam on the inside layer about 1″ into the fabric, as per the blue line in the photo. Leaving an allowance of about half a centimeter, cut off the excess fabric at the end.
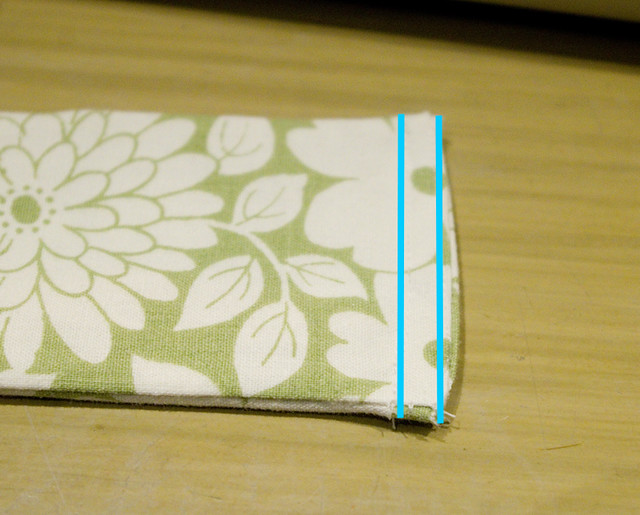
Fold the top layer back so that it lies flat. Fold the two unfinished edges of the top layer inside the tube, and stitch the end of the tube closed as close to the edge as possible (blue line on the right). Making sure to catch the inside layer, sew a second seam parallel to the first, about half a centimeter further in (blue line on the left).
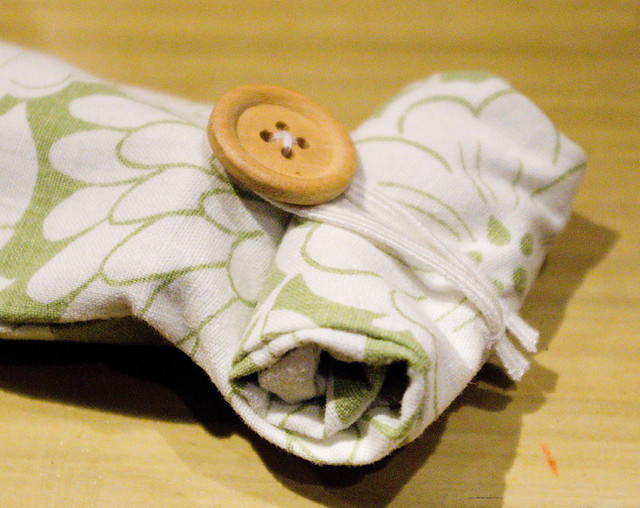
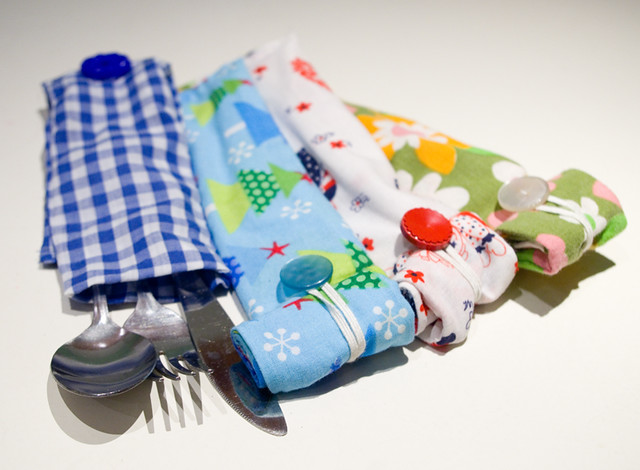
Insert your longest piece of cutlery (usually the knife) into the tube, making sure it goes all the way to the bottom. On the middle of one side of the tube, mark a spot 1″ down from the top of the knife; sew a button on there, making sure to sew it only to one side of the tube. On the other side of the tube, mark a spot 1/2″ from the top of the knife; sew a loop of elastic onto this spot. The length of the elastic will depend on the level of stretch and how big the button is, so it may take a bit of experimentation.
Insert all cutlery pieces in the tube, roll the top closed, and loop the elastic over the button to secure it.
There you have it, your own personal recycled portable cutlery set. Make them for your friends and family this holiday season! They make great stocking stuffers and teacher appreciation gifts. And after many years of hard use, when the cutlery does finally wear out and the bag falls apart, the steel is recyclable and many fabrics are biodegradable. Even if you chose a synthetic fabric, it’s better that it be reused instead of going directly in the trash. Perhaps only the button (depending on the kind you chose) will end up in the garbage at the end of life of your portable cutlery set — and with any luck by then our recycling programs will accept them too.

I love this, and they are cute too!
LikeLike